Create CMS Items
Markdown
To create a CMS item with your text editor you must create a new markdown file, for example if your site has a posts collection and you want to create a new post called that has a permalink “hello-world”, create a file in the following path:
cms/posts/hello-world.mdand populate your file according to your own CMS structure.
It’s greatly adviced to duplicate an already made CMS item exported from Webflow and modify the code accordingly.
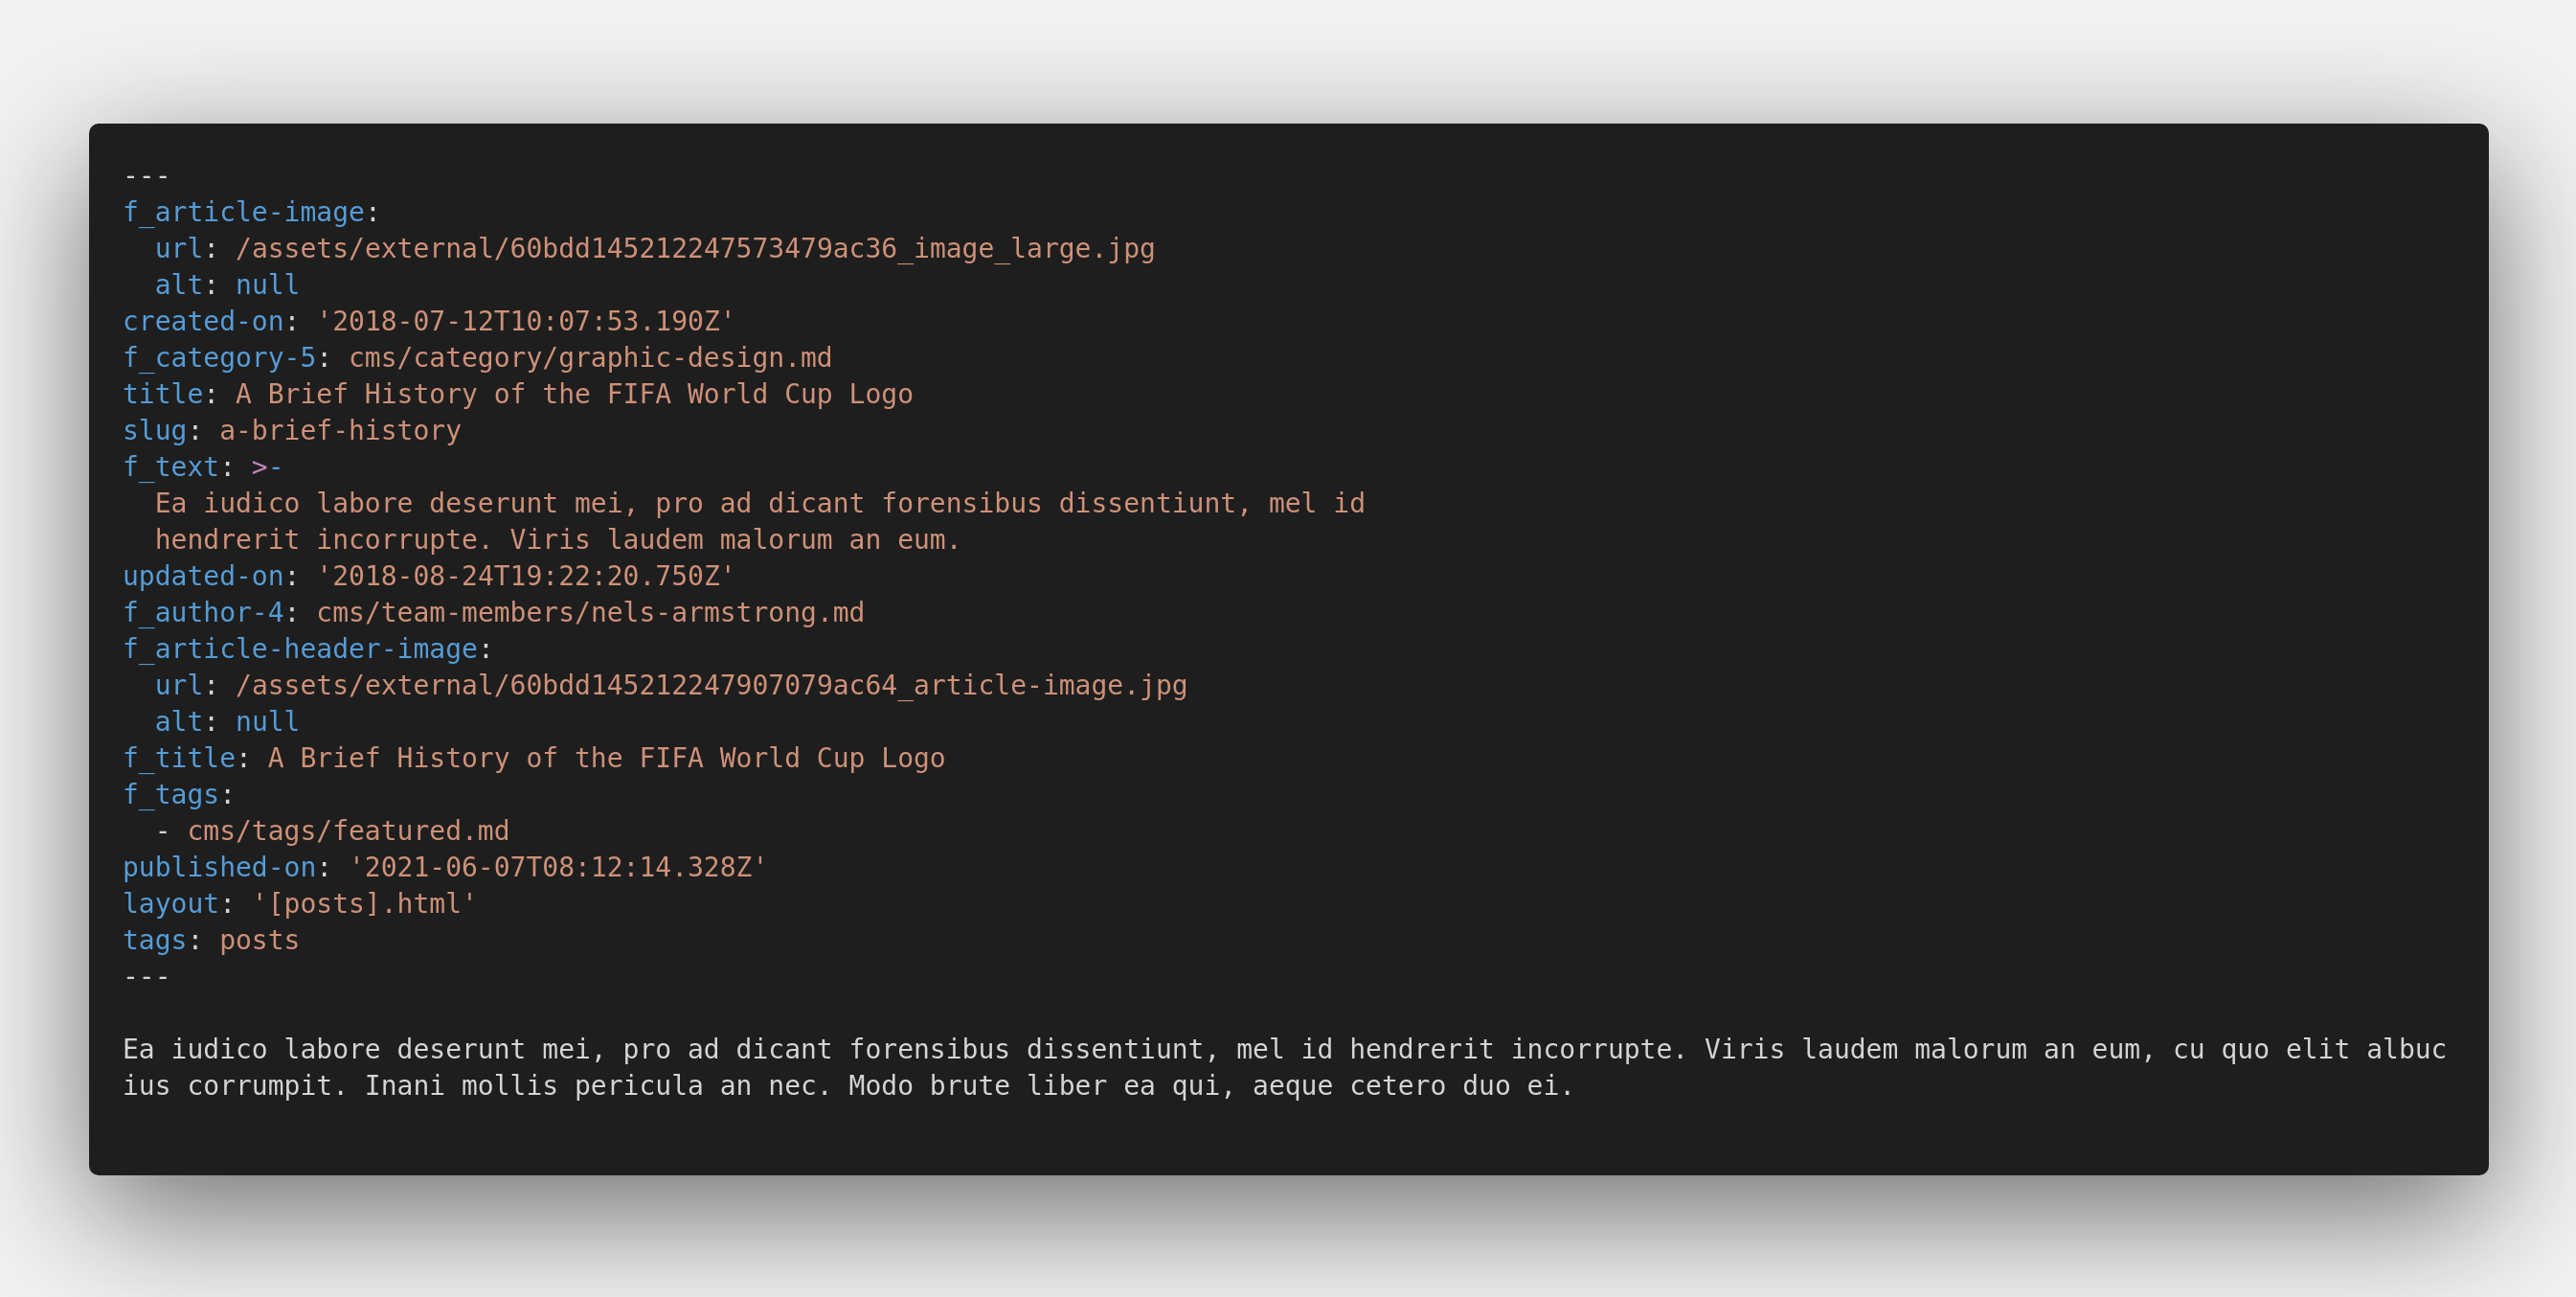
Below you can find an example of a Markdown file of a post of the CMS

Every Markdown file is composed by 2 parts:
Frontmatter
Frontmatter is the starting part of the file delimited by
---this part defines all the properties of the current CMS item using the YAML Format.
Content
This is the content of your cms item, and can be found after the frontmatter, this part of the file uses actual Markdown syntax, for a quick remind about markdown syntax follow this cheatsheet or just the basic recap below here
| Element | Syntax |
|---|---|
| Headings | # H1 ## H2 ### H3 |
| Bold | **bold text** |
| Italic | *italicized text* |
| Blockquote | > blockquote |
| Link | [title](https://www.example.com) |
| Image |  |
[BETA] Local Netlify CMS
If you are not too practical with Markdown Files, and you want to use Netlify CMS locally to develop your site. Follows these steps:
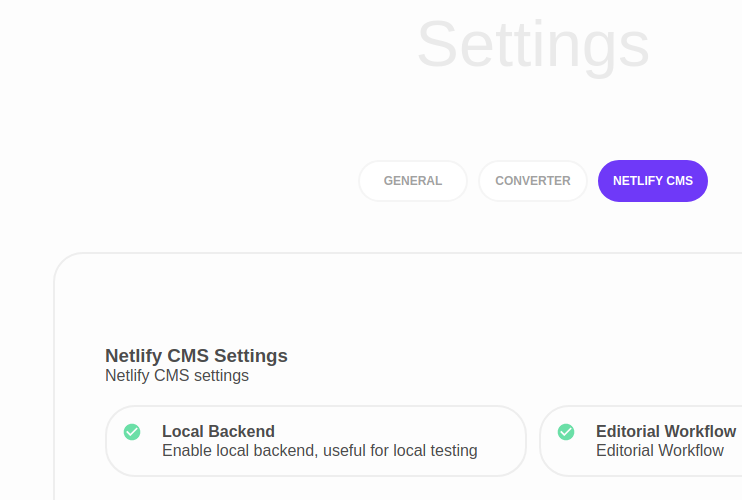
- Check Local Backend in Udesly App settings;

-
Convert your theme;
-
Download the zip;
-
Unzip the theme;
-
Open two terminal windows;
-
Launch respectively the following commands in the different windows:
cd "Full unzipped folder path" && npm i && npm run servecd "Full unzipped folder path" && npm run local-backendNaturally, you have to swap Full unzipped folder path, with the actual full path of your folder, for example ~/home/downloads/my-theme or D:\Downloads\my-theme
- By default 11ty serve command will spin a local server that listens to the port 8080, so open your browser and go to localhost:8080/admin to open Netlify CMS;