Conversion Steps
Converting a site is very very simple, below you will find a guide divided into 3 simple parts follow the steps in the correct order!
Webflow
Design
Design your Shopify theme using eCommerce elements of Webflow. Note that only eCommerce themes can be converted into Shopify. If you are not aware of it, you don’t need a site plan to design an eCommerce project, every Workspace plan will allow you to design and export eCommerce projects. Be sure to create all the relevant pages that you find explained here.
You can also start from our newly released starter template
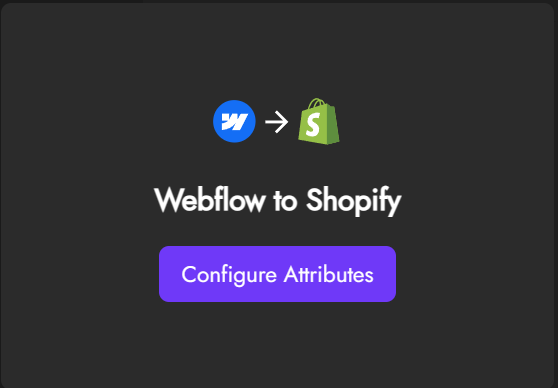
Run the extension
After you are done and ready to convert, open up our Chrome Extension and click on Configure Attributes
The extension will automatically download a configuration file
Export the Webflow Zip
After running the extension you can now download the Webflow zip. You can export the code only and exclusively if you have an active Webflow Workspace plan by pressing the export code button

Udesly App
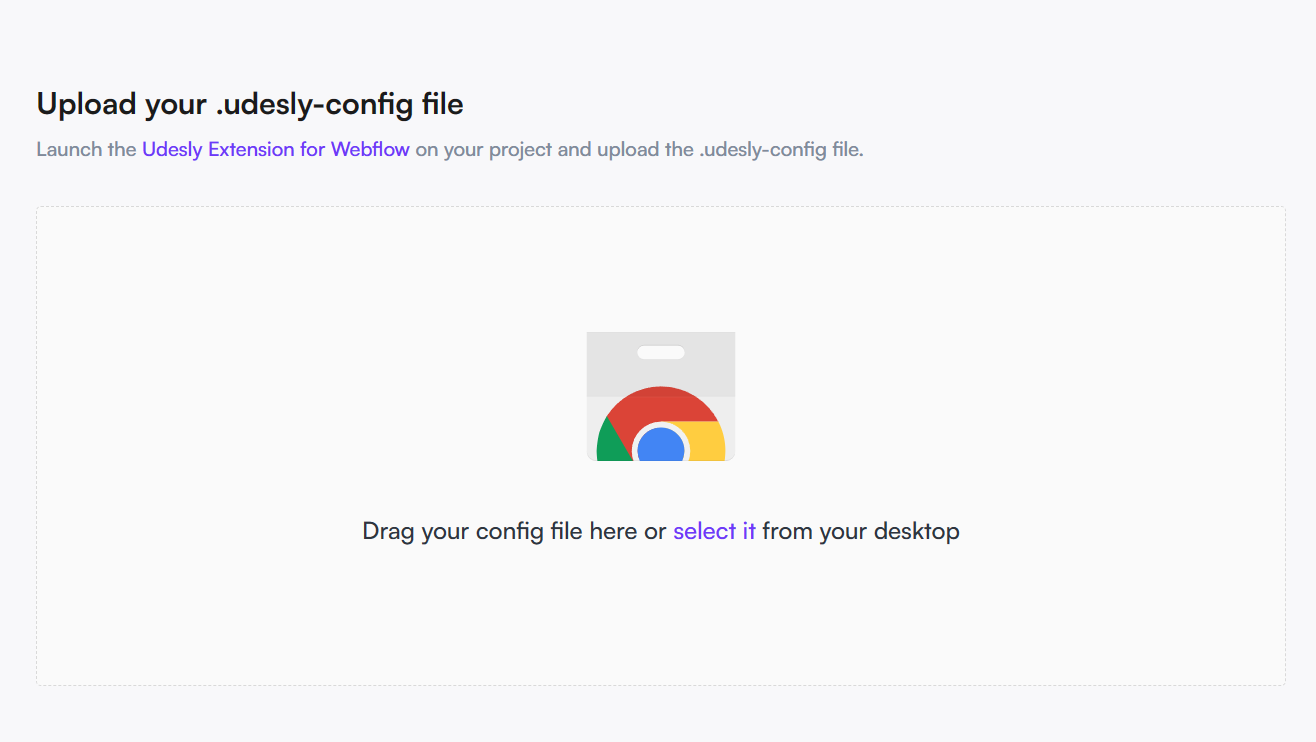
Upload Config File
Upload your .udesly-config file downloaded from the chrome extension into the Udesly Nexus App
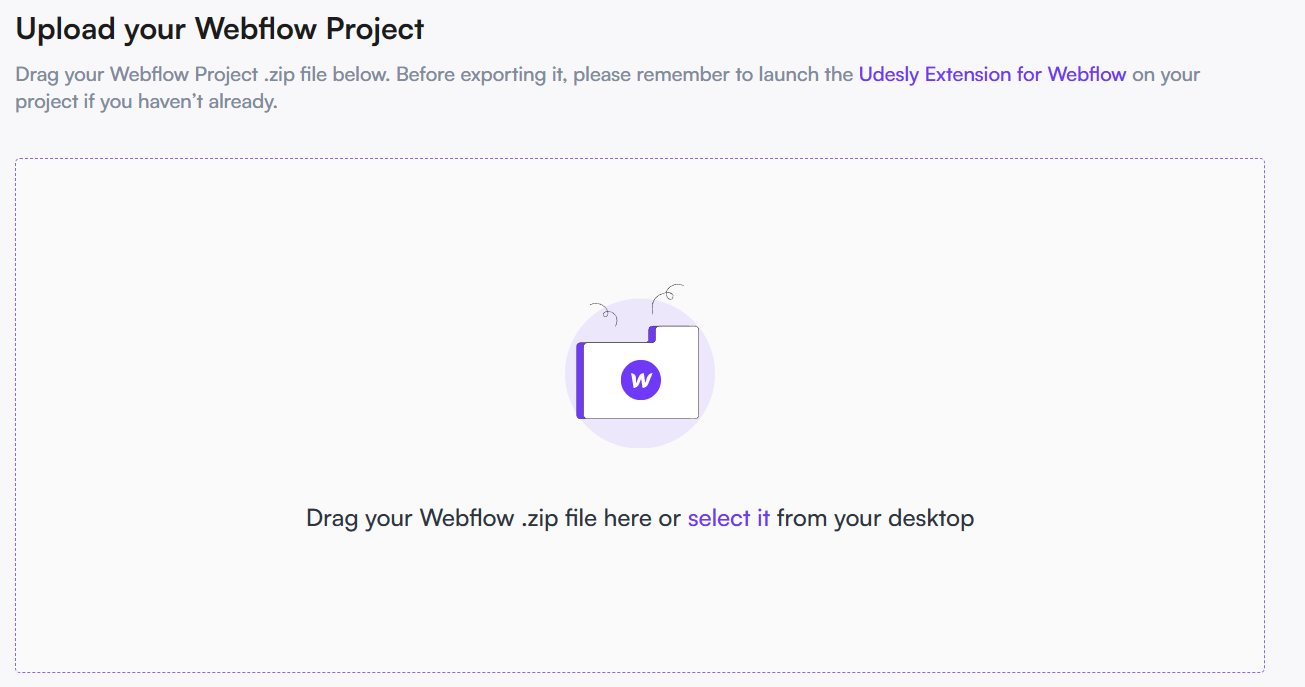
Upload Webflow Zip file
Upload the Webflow zip file into the App. Be sure to not rename the webflow exported zip (*If you are using ARC browser, disable the autorename feature), and be sure to export the Webflow Zip only and exclusively after running the extension, otherwise the zip will be without automatic custom attributes.
Configure Conversion Settings
Change the conversion settings according to your needs in the following guided steps of the app

All settings are explained in detail here
Convert
Press the convert button and wait for the magic to happen (should not last more than 5 seconds, but depends by the amount of assets you have in the zip).
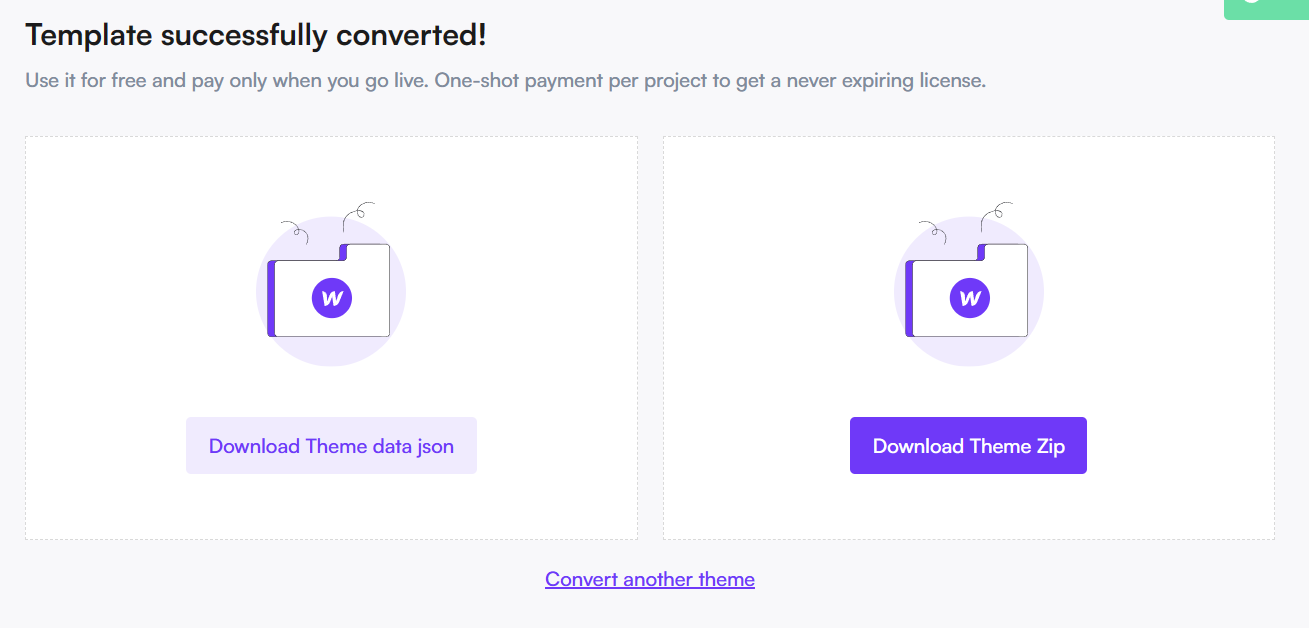
Download Files
After conversion you can download the Shopify theme zip and the theme data json that contains all your CMS data and pages that can be automatically imported into Shopify using our Shopify app.
Shopify
Upload theme
From your Shopify dashboard you can upload a new theme following up the path Sales Channels > Online Store > Themes

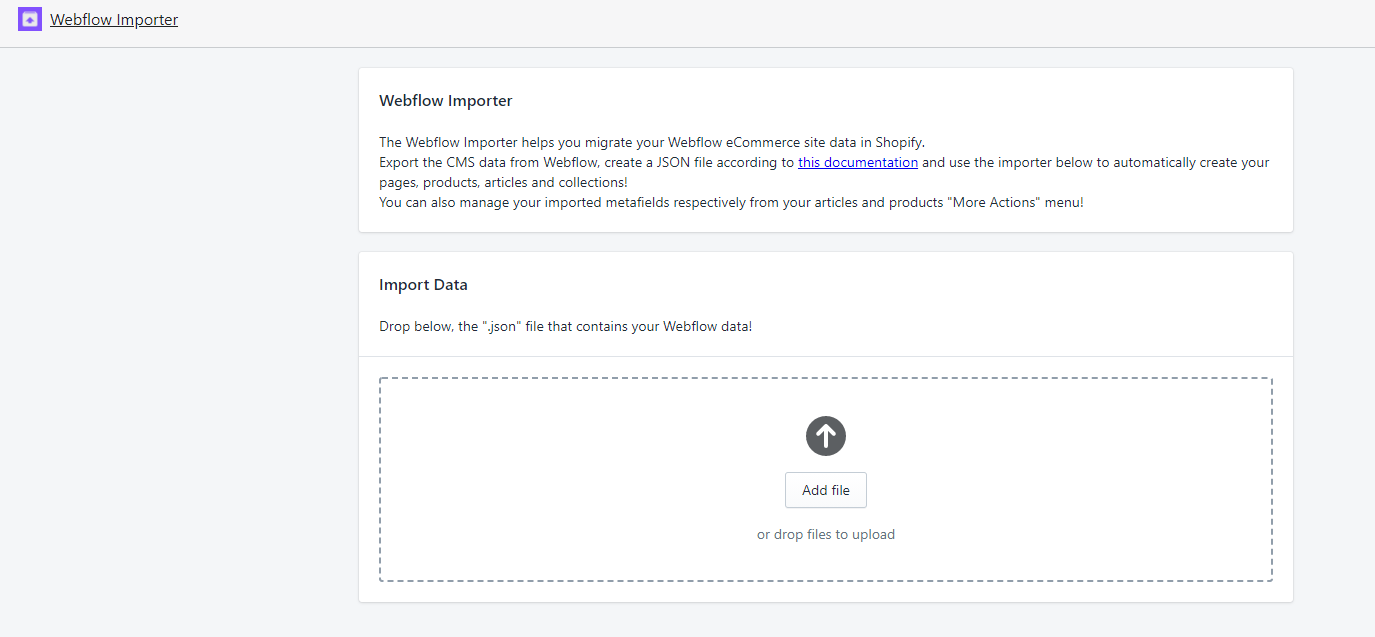
Import Data
Install our Shopify App. And upload the json data file downloaded in the previous steps. The app will automatically create new pages, articles and products that you had in Webflow. Note that the app never updates any content, if a product/page/article is already present in Shopify with the same slug it will just be skipped. The app is only meant to be used to kickstart your newly Shopify store and is not meant to be used as a sync system between Webflow and Shopify. Every further modification to CMS data should be done directly in Shopify.
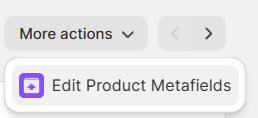
The Webflow importer app can also be used to modify Webflow Custom fields (created as non-native Shopify metafields from our App).
For each resource (product, article, collection) you will see a dropdown menu on the top right of the screen labeled “More Actions”, just press on Edit {resource} Metafields
Customize Theme
If you have created your theme with Editable Sections, you can further customize your template by using the Shopify Customizer. The Customizer can be accessed following the path Sales Channels > Online Store > Themes > Customize.

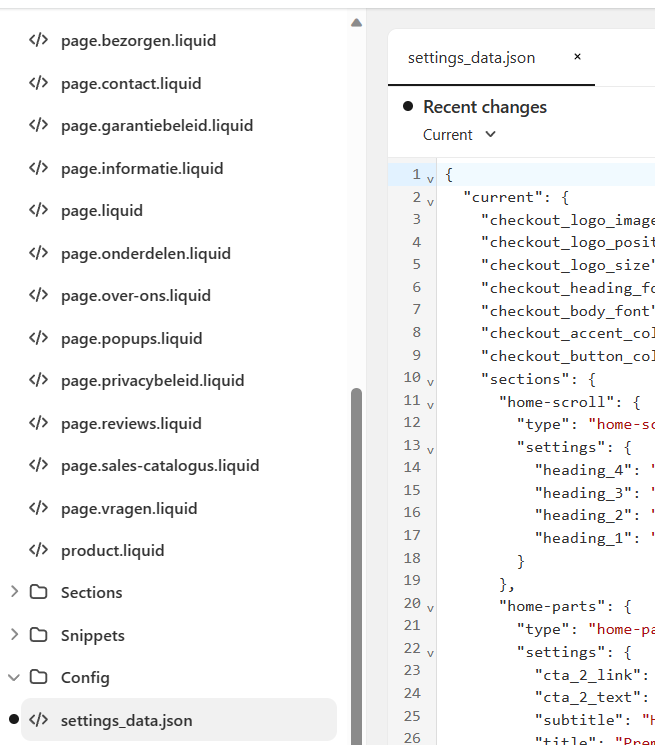
Note: Shopify saves all customizer settings inside a json file internal to the theme (even the checkout logo and color settings), if you want to restore your changes when you upload a new template, you have to copy the config/settings_data.json file from the old theme and paste it into the new one, you can do it directly in Shopify from the Edit Code functionality